Photograph the Moon on your iPhone with NightCap Camera
The moon is difficult to photograph on an iPhone. The moon is very small, and also very bright against a dark sky and this confuses the camera resulting in a too-bright moon, a grainy sky, and poor focusing. NightCap Camera can help – just follow our simple guide and learn to take far better photos.
1. Magnification will really help!
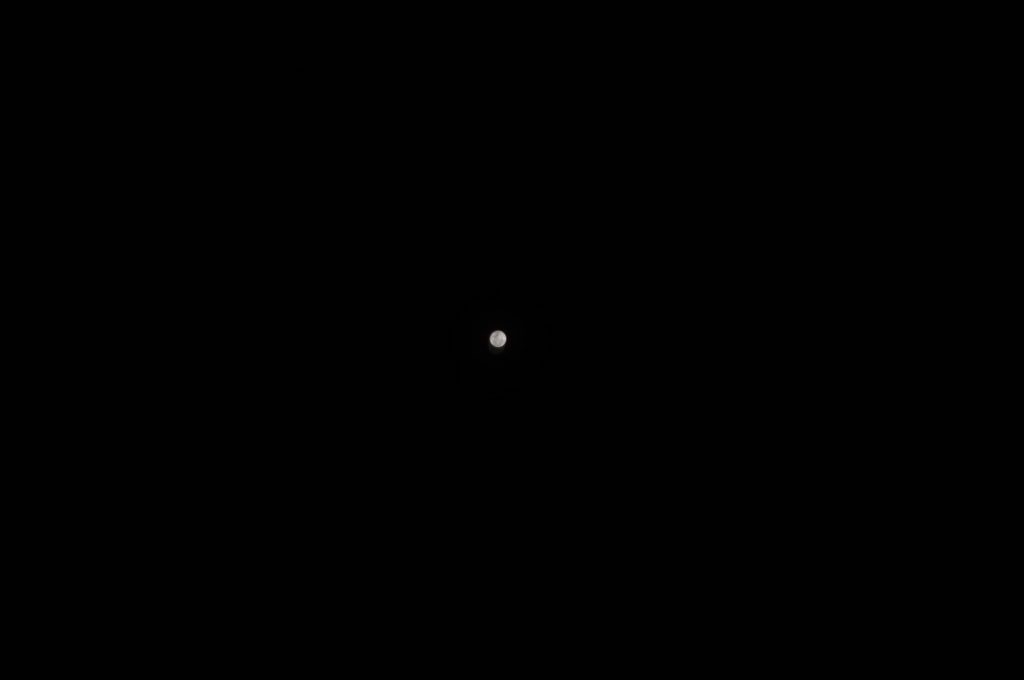
The iPhone camera has a fairly wide angle lens, which helps in most situations but makes the moon look even smaller than it is. With an iPhone alone the moon looks like this:

Moon by Michael Barnes (twitter: @ml_barnes)
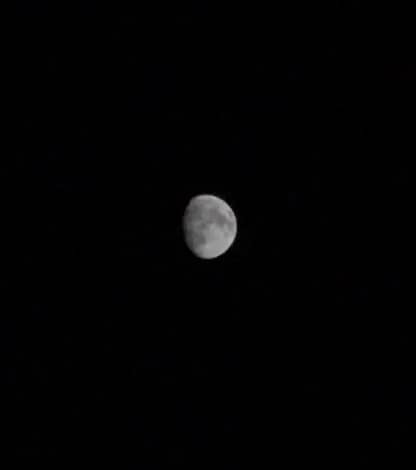
At best, using the 2x lens on an iPhone with dual rear cameras and cropping the image it looks like this:

The moon, taken with an iPhone 7 Plus’ 2x lens
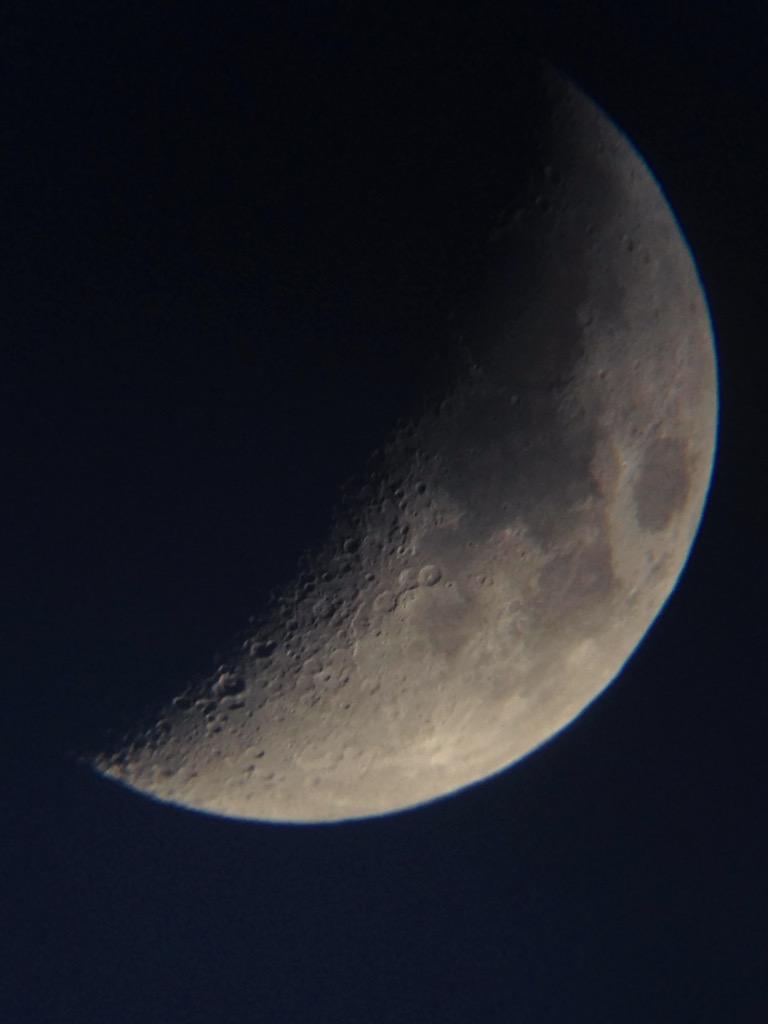
But with the aid of a pair of binoculars or small telescope it can look like this:

Moon by Brian Sudol, Twitter: @sudbri) (Taken through telescope)
You can simply hold your iPhone camera up to the eyepiece of a telescope or binoculars, but it can be difficult to get it lined up. Telescope and binocular adaptors are available to keep your iPhone in place.
If you have an iPhone with dual back cameras, you can switch to the 2x camera. This will help lots!
2. Turn down ISO
The reason the moon is hard to photograph is that it’s actually very bright, but surrounded by very dark sky. That confuses the iPhone camera, because it tries to get the background bright enough to see – which it can’t do. The result is an over-exposed moon (usually a white blurry blob) with a grainy background. It’s often out of focus too!
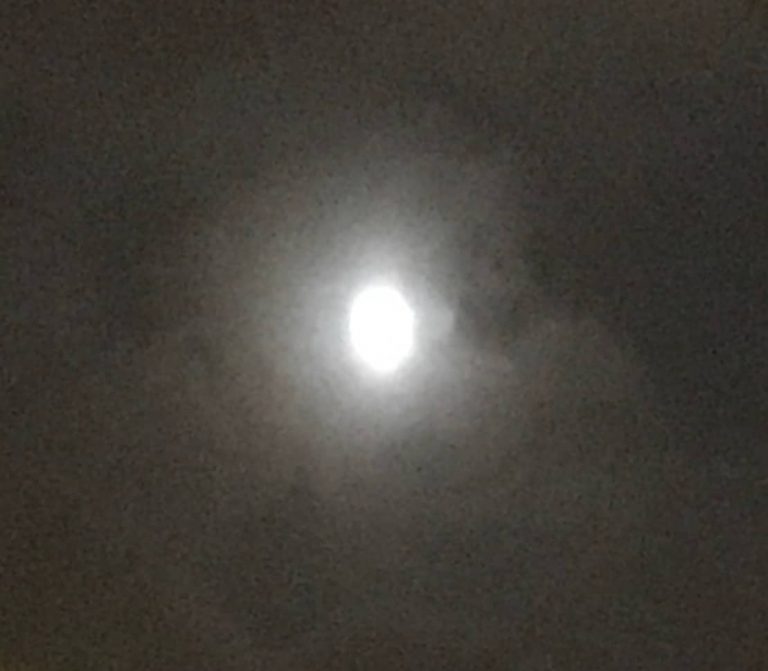
Here’s a typical example (it’s really the moon, and not the sun or a flash light!):

The moon – over exposed
Let’s fix that.
Start by reducing ISO. This is camera sensitivity, and if it’s too high it’ll be bright and grainy. We want darker and less grainy, so we’ll turn it right down.
Slide your finger downwards on the left hand side of the screen. This reduces ISO. Set it to the minimum (25-64 depending on iPhone model).
3. Adjust exposure
Now slide your finger up and down on the right side of the screen to adjust exposure (brightness) until the moon looks grey instead of white.
4. Focusing
Last thing we need to do is focus (FOC). It should be set to 100 (infinity). This usually happens automatically, but if not just slide your finger to the right in the bottom half of the screen to set it to 100.
If you’re using a telescope or binoculars, this can affect focus and 100 may not be correct. In this case simply adjust it until it’s nicely focused (zoom in to see more clearly while you focus).
That’s it!
You can now take a photo or video, and the moon should be as clear and detailed as it can be.
Not got NightCap Camera yet?