Photograph Lightning with your iPhone with NightCap Camera
Lightning is one of the great spectacles of nature, but how to photograph it? It’s over before you’ve even reached for the camera.
Learn how to use NightCap Camera’s special modes to make it easy!
1. Use a tripod
It’s essential to keep your device still while it takes the photo. A tripod is ideal (even a ‘pocket size’ one will work fine), but if you don’t have a tripod, try to prop your iPhone up so it won’t move.

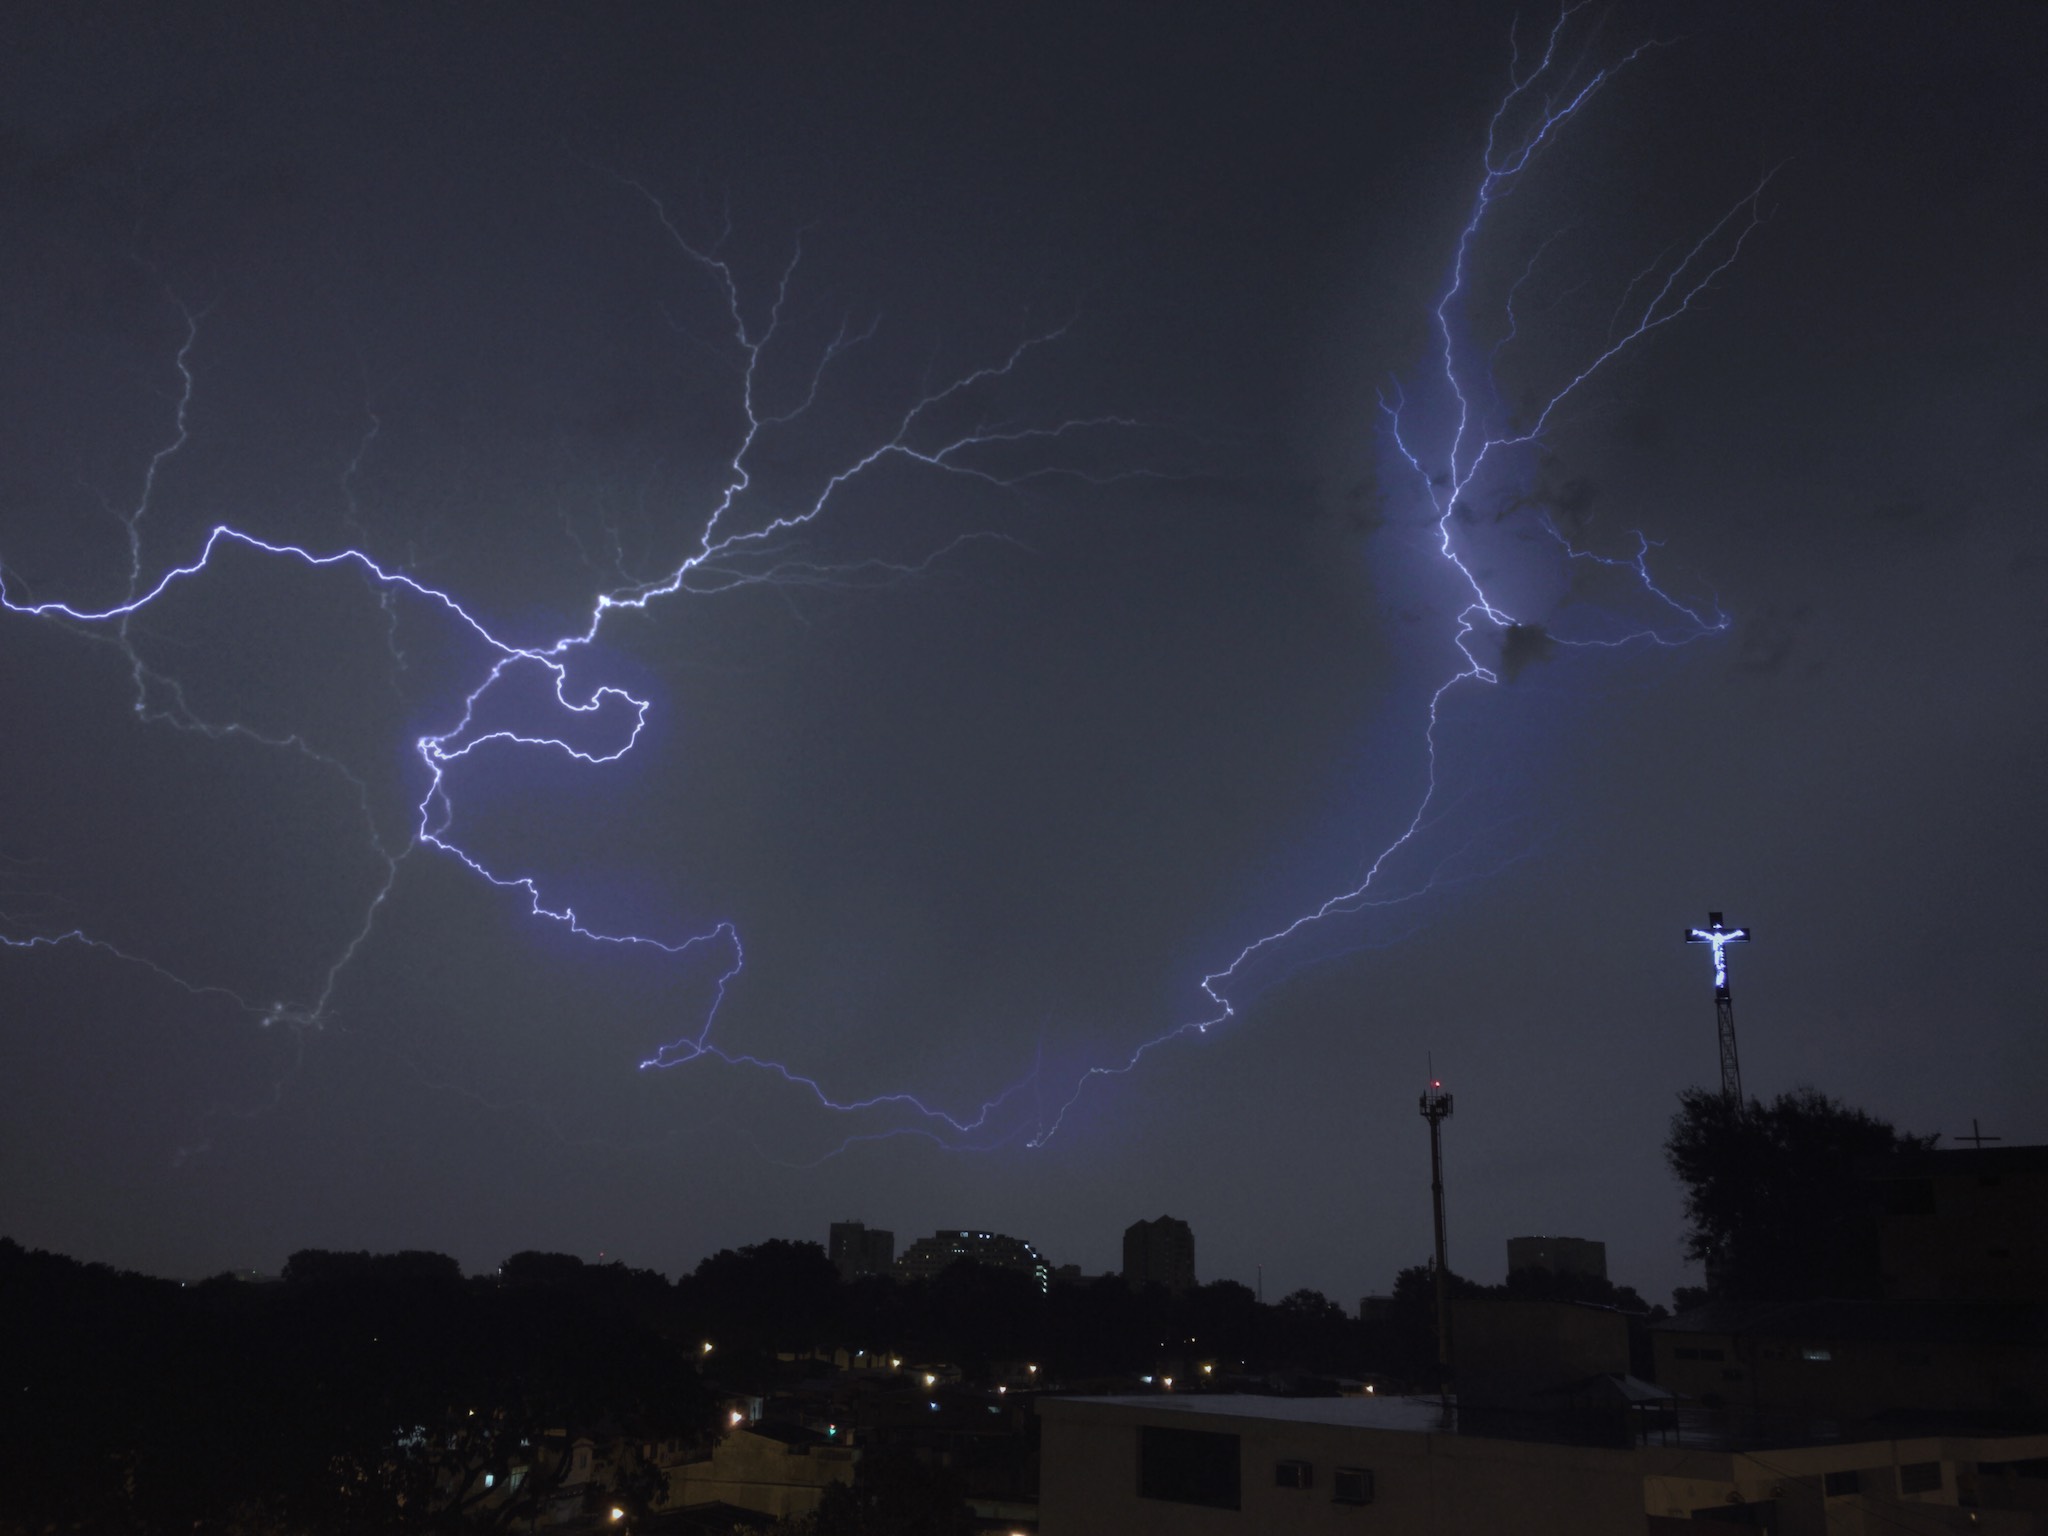
Lightning photo by Daniel Fernandez. Twitter: Daniel0181
2. Turn on Light Trails mode
Light Trails mode works by taking photos continuously, and preserving anything brighter than the background. There’s a live preview so you can see exactly what you’ll get.
This is ideal for lightning, because it means you can leave it capturing until you get a good lightning strike.
- Tap the
 to open the Camera Options
 - Turn on
 Light Trails mode
3. Adjusting the picture
In daylight you can use the automatic settings (although reducing the brightness a little with the manual controls might help).
At night you might need to make some adjustments, depending on conditions.
As a rule, the automatic settings will be fine for distant lightning, but if the lightning is close it can be extremely bright, which results in a very overexposed photograph.
Because actual conditions vary so much you’ll need to experiment to find out the best settings.
Using the manual controls
The golden rule:
If the picture is too bright, reduce ISO first, then exposure. If the picture is too dark, increase exposure first, then ISO.
This gives you the best chance of capturing lightning, while keeping the graininess of the photo as low as possible.
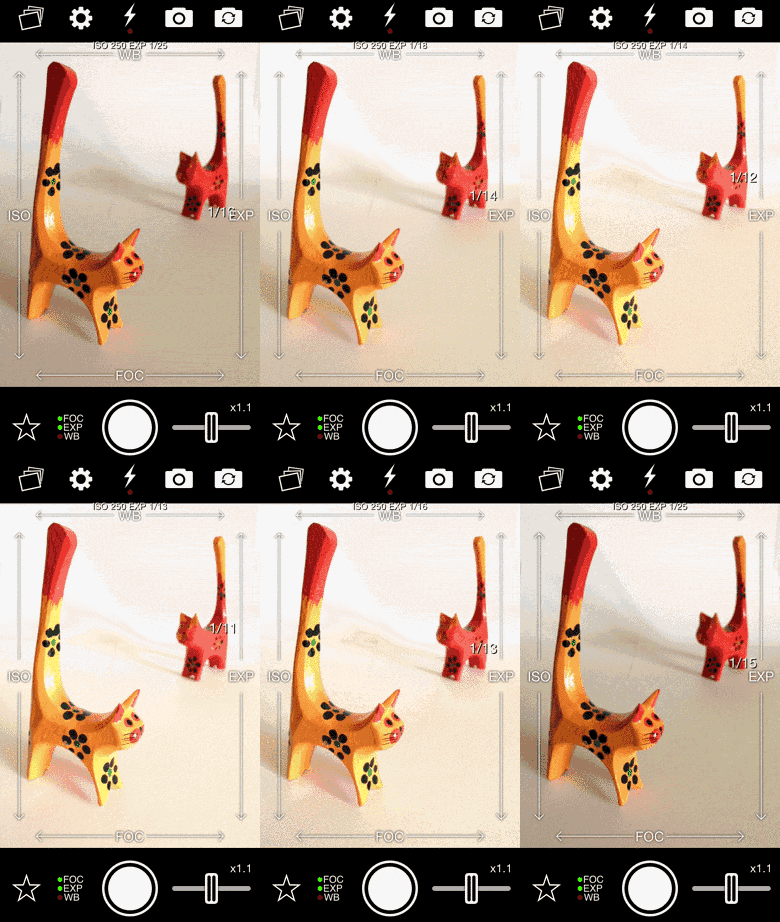
To adjust the manual settings simply slide your finger up and down on the left of the screen for ISO or the right for Exposure:

Up increases both settings, making the picture brighter, and down reduces.
There’s a full guide to NightCap Camera’s manual controls here if you’d like to learn more.
4. Take the photo
That’s it - just tap the shutter button to start taking the photo. Wait for a lightning strike to be captured, then tap the shutter again to finish and save the photo.
5. Experiment
If the picture is too bright or dark, adjust the camera settings with the manual controls and try again.
It’ll be trial and error to begin with - unfortunately the “right” settings depend on conditions, sky brightness and many other factors, but you’ll soon get the hang of it.

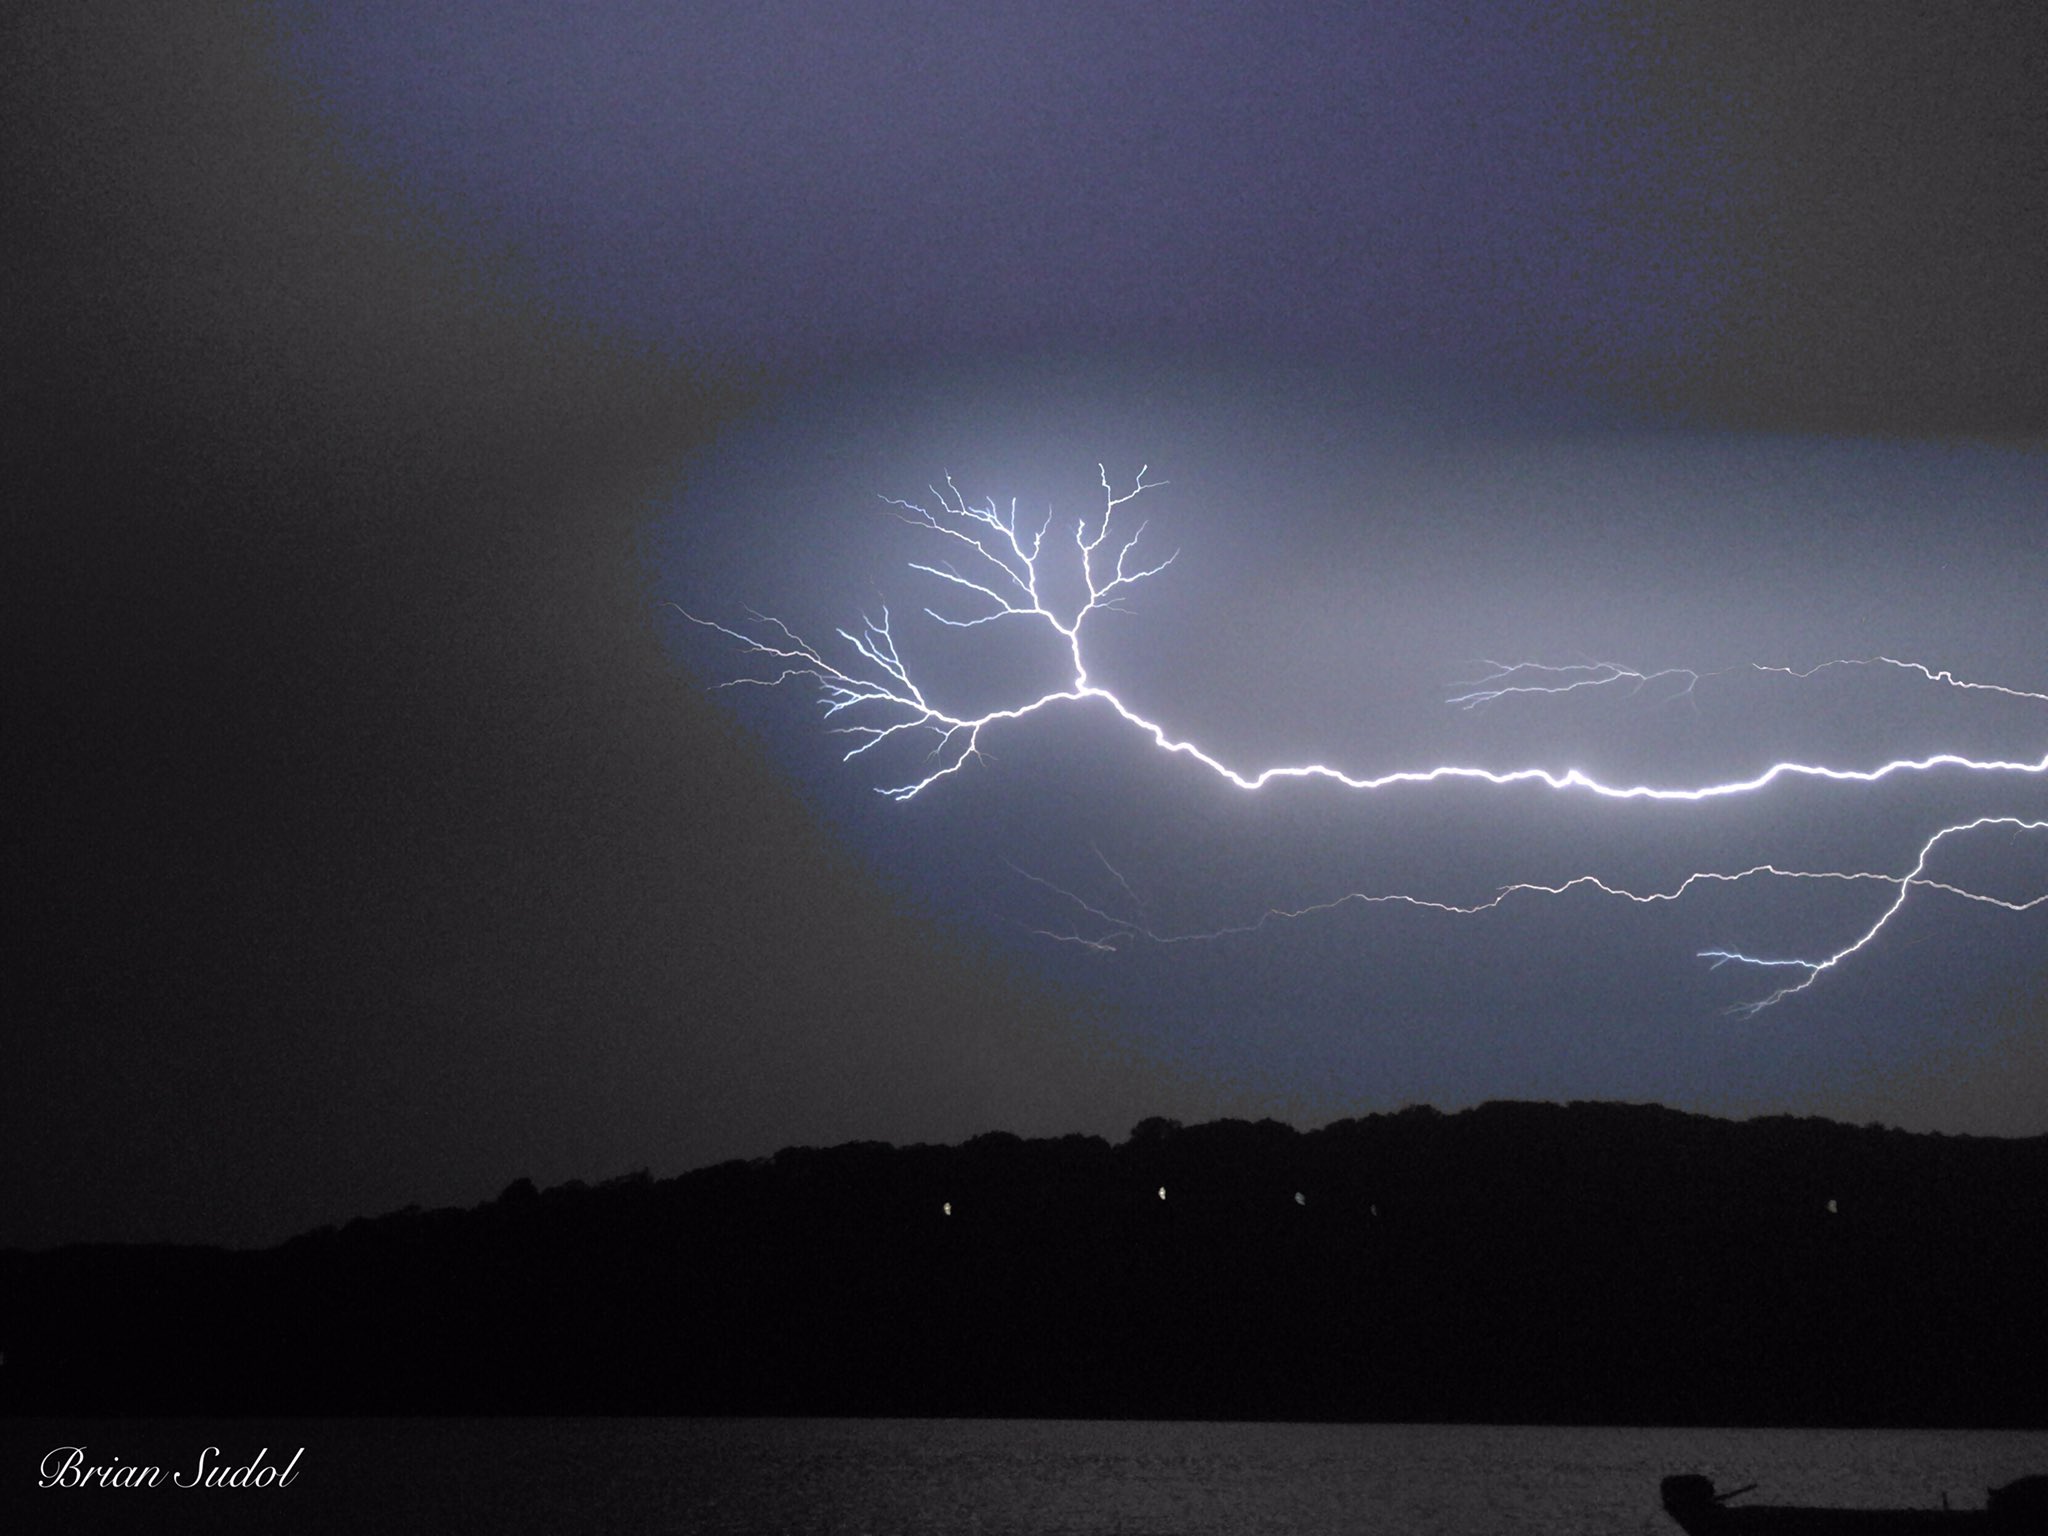
Lightning photo by Brian Sudol. Twitter: sudbri
Not got NightCap Camera yet?